Included Components:
• CLIC Rivets: Made up of two components. Only separate them when absolutely necessary.
• CLIC Ballpoint Pen: Used to open closed rivets.
• Wooden Disc: For attaching the lampshade to a handle.
• Wooden Rings: One ring with either 16, 20, or 28 holes and a second ring for expanding into a table or floor lamp.
• Pre-Sorted Wooden Strips: 16, 20, or 28 strips in your selected wood type.
• Informational Brochure: Includes a link to video assembly instructions.
• Small Box of CLIC Rivets: Sufficient for the assembly process.
Preparing for Assembly:
1. Set Up Your Workspace: Use a flat, smooth surface.
2. Organize Components: Lay out the rivets and pre-sorted strips, keeping everything easily accessible.
Assembly Instructions:
Step 1: Start Assembly
1. Take the first wooden ring and a CLIC rivet. Insert the rivet from the inside out into one of the pre-drilled holes.
2. Select the first strip from your pre-sorted set. Pay attention to the placement of the drill holes:
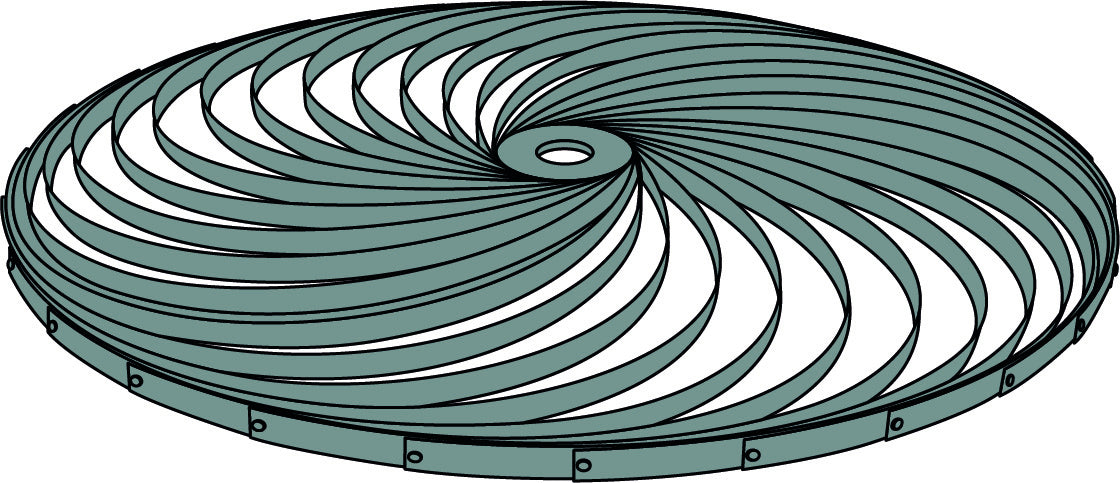
• For a flat shape, align the centered outer drill hole with the rivet.
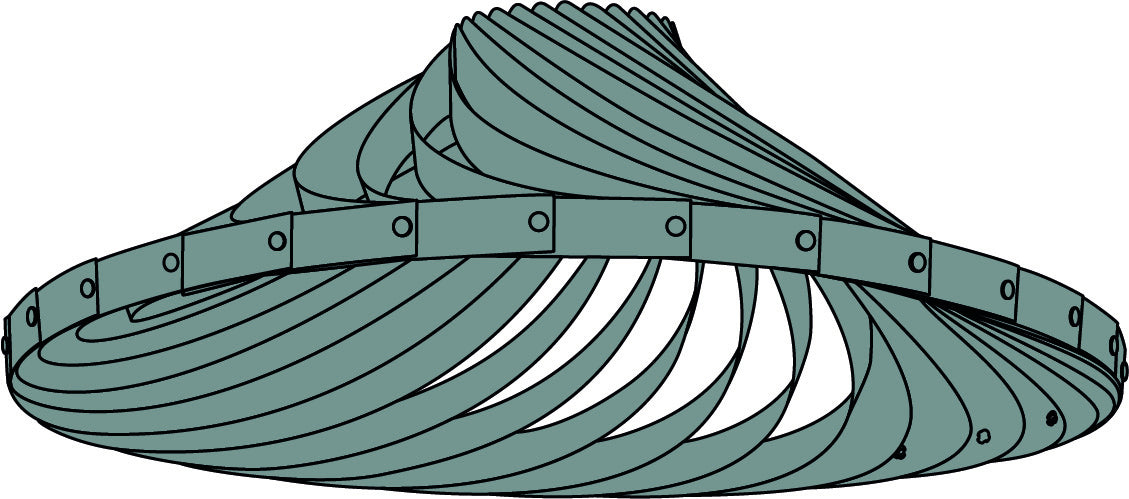
• For an angled shape (spindle or conical), use the outer drill hole at the edge of the strip.
3. Slide the strip onto the rivet, ensuring the rivet passes through the selected hole.
4. Take the second strip and align its middle hole over the same rivet as the first strip. Press down firmly on the rivet cap to secure both strips.
5. Repeat this process for the remaining strips, one by one, until all strips are attached to the ring.
Helpful Tips:
For easier assembly, separate the rivet components. Insert the shaft through the hole in the ring and strips, align them fully, then reinsert the pin and close the rivet.
For the Create IV model - conical shape - (flat), use the included wooden spacers. Position them evenly between the ring and strips to align and stabilize the rings.
Step 2: Attach the Second Ring
1. Take the remaining wooden ring and insert rivets from the inside out on opposite sides. Use the CLIC ballpoint pen to check alignment.
2. Place the completed first section in front of you and attach a strip to one of the rivets on the second ring:
• Attach the first strip using one of the outer holes.
• Attach the second strip using the middle hole of the same rivet.
3. Repeat the process for the 9th, 11th, or 15th strip (depending on your set) and attach it to the opposite rivet. Continue alternately attaching strips to ensure even tension.
Pause to Check: Count the remaining strips to ensure equal numbers on both sides:
• Create I: 6 strips on each side.
• Craft III: 8 strips on each side.
• Create IV or Choose II: 12 strips on each side.
Step 3: Final Adjustments
1. Attach the final strips to the upper ring. Separate the rivet components if needed for easier handling.
Transforming Your Lampshade Into a Light Fixture
1. Insert the attachment ring to use the lampshade as a hanging, floor, or wall light.
2. Place the wooden ring through one of the laminate openings into the lampshade. Ensure the ring sits flush with the rivets and tighten the grip plate from the outside.
Important Notes:
• The wooden disc sits flush within the wooden ring, and the rivets prevent it from slipping out.
• Depending on your use case, choose a pendant light fitting or a universal wall and ceiling fitting.
• Our E27 fittings for table, wall, and ceiling lights fit perfectly into the modular wooden ring, turning your lampshade into a ceiling, table, or floor lamp.
• If you didn’t order a fitting, browse our webshop for a selection of E27 fittings to suit your needs.
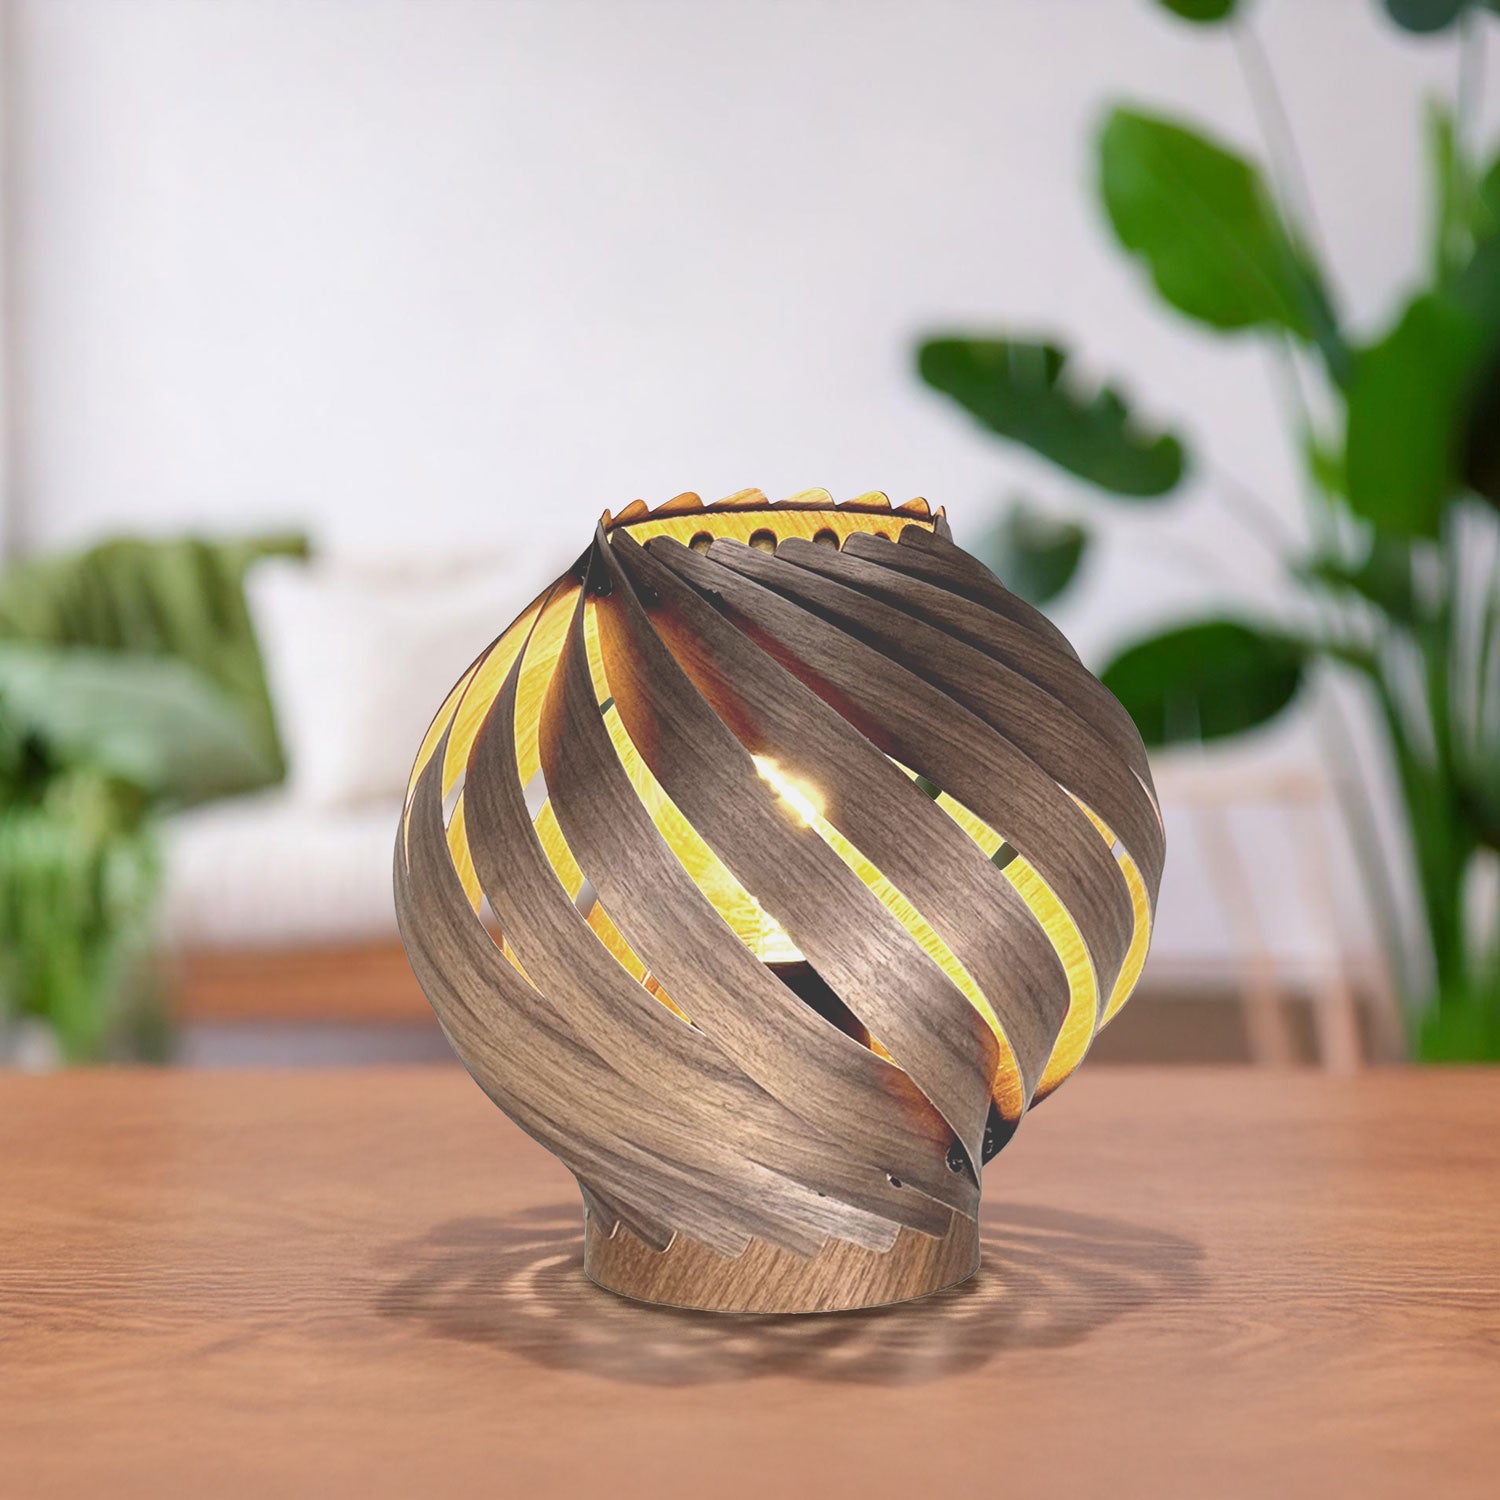
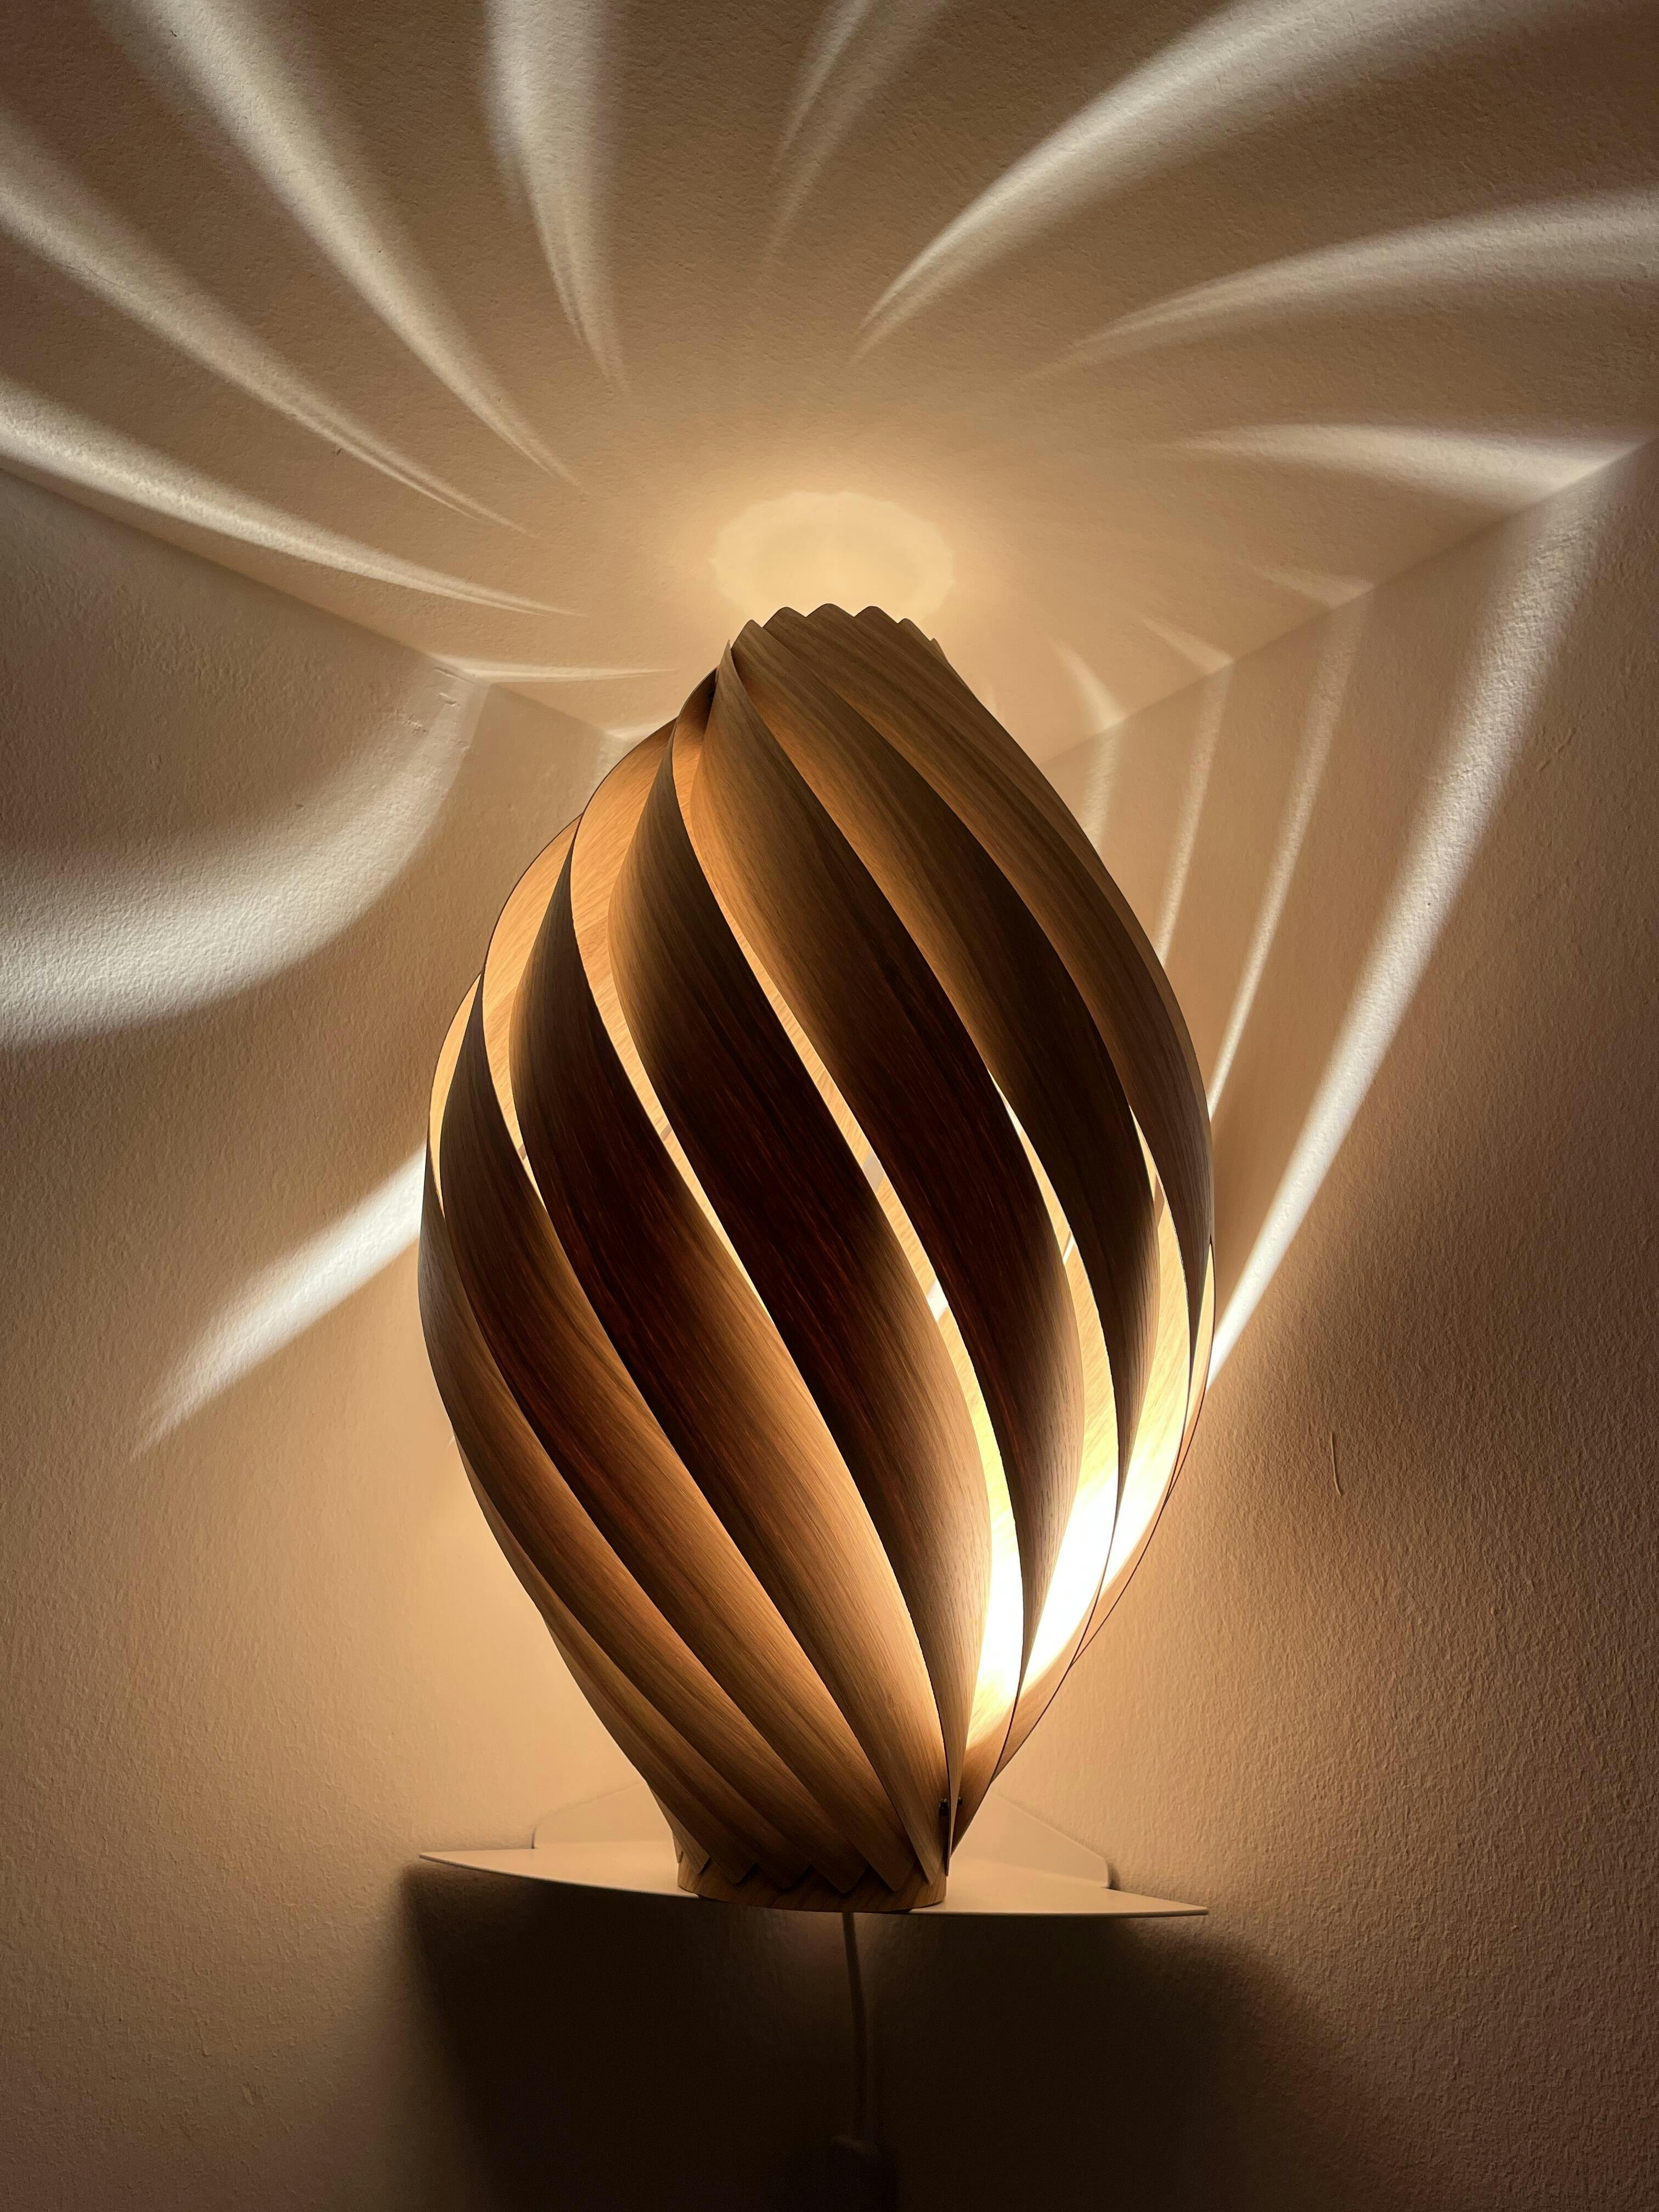
Enjoy Your New CLIC by Gofurnit Lampshade!
We hope your new CLIC lampshade brings a unique and cozy atmosphere to your space.
For further assistance, check our FAQ or contact us via email or WhatsApp. We’re always here to help you enjoy the best experience with your Gofurnit creation!
This layout is optimized for a Shopify page, using clear headings, bullet points, and concise instructions for easy readability. Let me know if you need further adjustments!